Using Lynis to Audit Linux Security

Audit your Linux Security with Lynis
A friend of mine, Kurt (kph), recently brought an open source Linux security auditing tool called "Lynis" to my attention.
Lynis is no doubt a play on Linus Torvalds' first name. Linus is the creator and maintainer of the Linux kernel. [update]Apparently, there is doubt! Waiting to hear back from CISOfy on whether it is. Received a tweet indicating I may be mistaken here. Stand by for correction.
[Update]I received the following in a tweet from CISOfy: it is a well-kept secret. Project founder @mboelen wanted a 2-syllable word, max 6 charactersr. It has no meaning, yet is also a first name.

Back to our regularly scheduled programming:
I favor Ubuntu with no Graphical User Interface (GUI) installed running on Digital Ocean for server builds. The examples and snippets in this blog are using Ubuntu.
Lynis supports Ubuntu and many other Linux/BSD/Unix builds. The following list is from the Lynis site on cisofy.com:
- AIX
- FreeBSD
- HP-UX
- Linux
- macOS
- NetBSD
- OpenBSD
- Solaris
- and others
What is Lynis?
So, what is this Lynis thing, and how can it help me?
Lynis is a free tool that scans your system, taking note of its security posture. It generates a report as it's scanning which you can use to make the system more secure.
Securing your system is an iterative process, with remediation and re-scanning until you get the system where you want it.
How to install and use Lynis
Full instructions for the installation methods supported are available on the Getting Started page of the Lynis web site.
Lynis has a version in apt for Ubuntu users, but it's quite old. I recommend getting the latest version by installing a local git repository of it, then running the executable from there.
Here's the installation via git method. (Note: I'm a naughty sys admin according to some. I do almost everything as the root user. If you're a good sys admin, preface the commands with sudo where needed.)
-
Install git if it is not already installed.
apt install git -
Navigate to your desired installation directory.
cd /opt/ -
Make a local clone of the latest git repository for Lynis.
git clone https://github.com/CISOfy/lynis -
Change directory to the new Lynis folder.
cd lynis -
Run your first system scan.
./lynis audit system
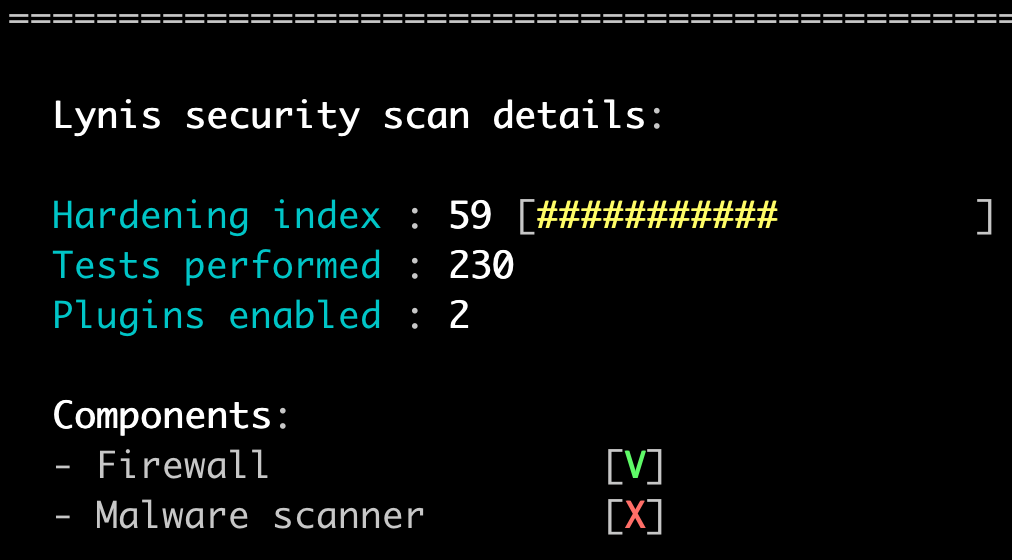
Here's what it looks like when run:

Interpreting results and hardening
As you run your scan, Lynis will show you the results on the screen, highlighting issues with pretty colors. Green is good, yellow (suggestions) are moderate, and red, (warnings) are bad and need fixing.
The scan I ran for this blog post was on a clean, updated Ubuntu 14.04 build.
In this run, I had only one warning and it related to the system having to be rebooted after an update.
I'll cover fixing one of the suggestions regarding hardening the SSH configuration.
Here is the finding:
**\*** Consider hardening SSH configuration [SSH-7408]
- Details  : X11Forwarding (YES --> NO)
  https://cisofy.com/controls/SSH-7408/
If you want more information about the finding and how to correct it, you could follow the link to learn more.
Fixing a finding
Here are the steps for fixing the finding cited above.
-
Make a copy of the sshd_config file in case you have to restore it later.
cp /etc/ssh/sshd_config /etc/ssh/sshd_config.00 -
Edit the /etc/ssh/sshd_config file.
vim /etc/ssh/sshd_config
(Here is a vim primer if needed) -
Search for the line with X11Forwarding in it.
\X11 -
You'll see a line that reads
X11Forwarding yes. -
Edit that line to read
X11Forwarding no. -
Save the file.
[Esc] :wq [Enter] -
Restart the ssh service.
service ssh restart -
Anytime you make changes to /etc/ssh/sshd_config and restart SSH, I recommend testing with a new terminal connection prior to disconnecting the one in which you made the changes. If you've done something that broke SSH, you can fix it with the original session and try again.
That's it for that finding.
I wouldn't re-run Lynis just to verify that that one finding is fixed, but I may after fixing all of the SSH related findings.
Just keep fixing and re-scanning as you go until the system is at the hardening level you prefer. Lather, rinse, repeat until your hair has reached its shiny best or you're out of shampoo.
Where are the reports?
By default, the reports can be found in /var/log.
ls /var/log | grep lynis
Output:
lynis.log
lynis-report.dat
The log is pretty raw output. The lynis-report.dat file is more nicely formatted.
Happy Linux Hardening!